
Bambu Lab P1S mechanical kit
CubeSat CAD and print files
Start with the Rev A case on a Bambu P1S. Print the fit coupon in PLA, then check the shell and lid. The Rev B rail-fit set is a separate bench experiment.
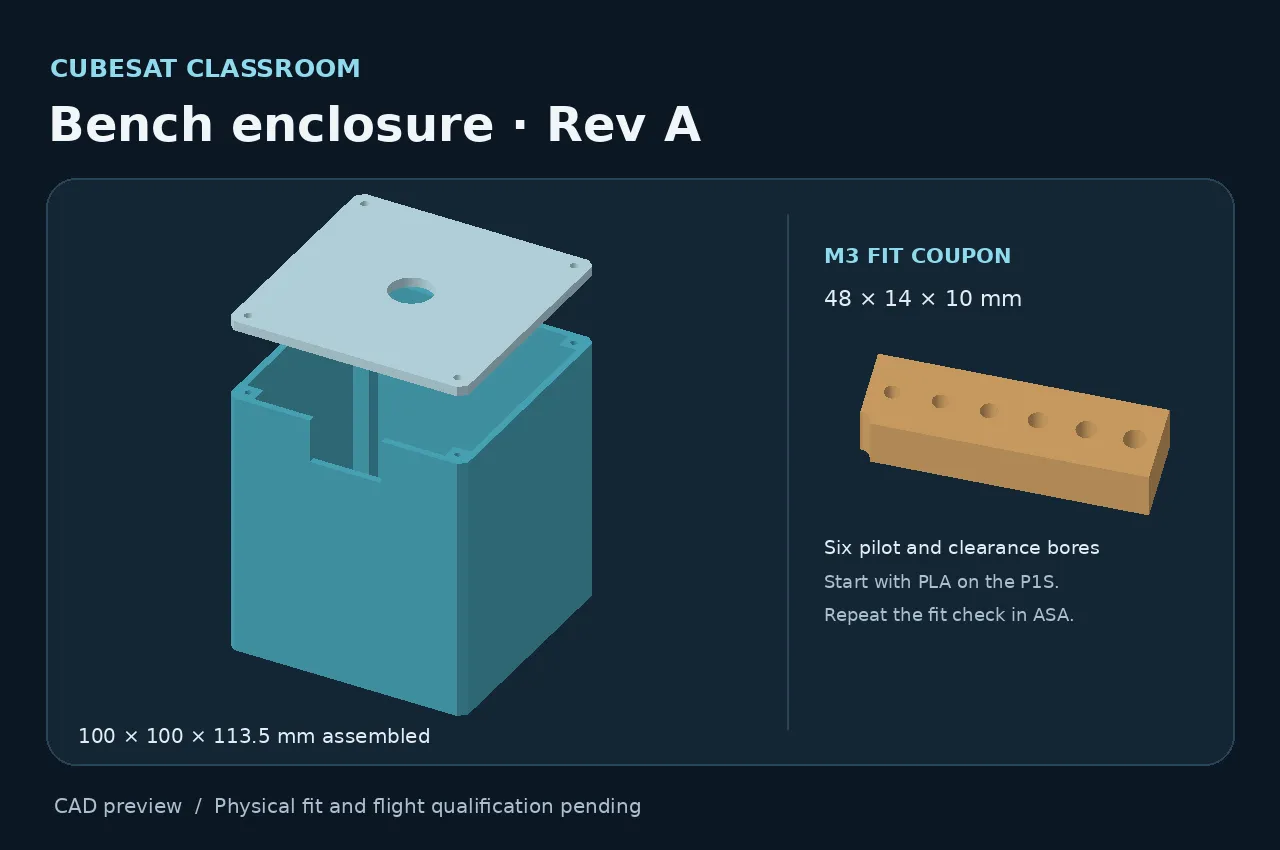
P1S case test prints
Choose the P1S profile for your installed nozzle and slice each millimetre-scale model in Bambu Studio. Start with PLA and a 0.4 mm nozzle.
- M3 fit coupon (3MF)
48 × 14 × 10 mm
Print first. Check the fit with the intended fastener.
- Case shell (3MF)
100 × 100 × 109.5 mm
Closed floor down, opening up.
- Camera lid (3MF)
100 × 100 × 6 mm
Exterior face down, locator tabs up.
Rev B rail-fit model
Use the corner coupon to check rail width and inspect the recessed walls before printing the frame.
Dimensioned drawing
Nominal dimensions come from the checked-in STL geometry. The drawing shows a front view of the frame and the outside face of the camera plate.
Download the drawing (SVG)
Printable parts
- Rail corner coupon (STL)
26 × 26 × 20 mm
Print first, rail end down. Measure the corner and inspect the recessed walls.
- Rail frame (STL)
100 × 100 × 113.5 mm
Print upright. Check supports under the recessed walls in Bambu Studio.
- Base plate (STL)
93.3 × 93.3 × 4.4 mm
Print the exterior face down. Check that the locators seat without force.
- Camera plate (STL)
93.3 × 93.3 × 4.4 mm
Print the exterior face down. Check the 18 mm opening against the camera’s field of view.
Fit requirements and evidence
The model targets a 100 × 100 × 113.5 mm envelope, 9 mm square rails, 3 mm end recesses, and 0.35 mm of locator clearance per side. Compare printed width at both ends and the middle, and record warping or support scars.
The meshes passed nominal size and integrity checks. Slicing, print measurements, positive plate retention, and deployer fit still need verification. Flight qualification requires review of the exact materials, process, and assembled hardware.